At Countertop Solutions, we believe the perfect kitchen or bathroom is all about the details. You can have the most breathtaking custom quartz, granite, or marble countertops installed, but if the surrounding tile backsplash or floor tile has dingy, stained grout, it can quickly detract from the beauty of the room.
Because grout is highly porous, it easily absorbs dirt, grease, soap scum, and moisture, leading to discoloration or even mildew over time.
Fortunately, you don’t need to completely re-tile your space to fix it! With the right approach and a little elbow grease, you can restore your grout to its original luster. Here is our step-by-step guide to cleaning and reviving your tile grout from the ground up.
Step 1: Start Gentle (Warm Water and a Brush)
Before breaking out heavy chemical cleaners, start with the mildest option. If your grout is just dusty or holds loose surface dirt, a simple scrub might do the trick.
- What to do: Spray warm water onto the grout lines and scrub vigorously with a stiff-bristled grout brush or an old toothbrush.
- Pro Tip: Avoid wire or metal-bristled brushes, as these can scrape, erode, or crumble the grout entirely. Wipe dry with a microfiber cloth.
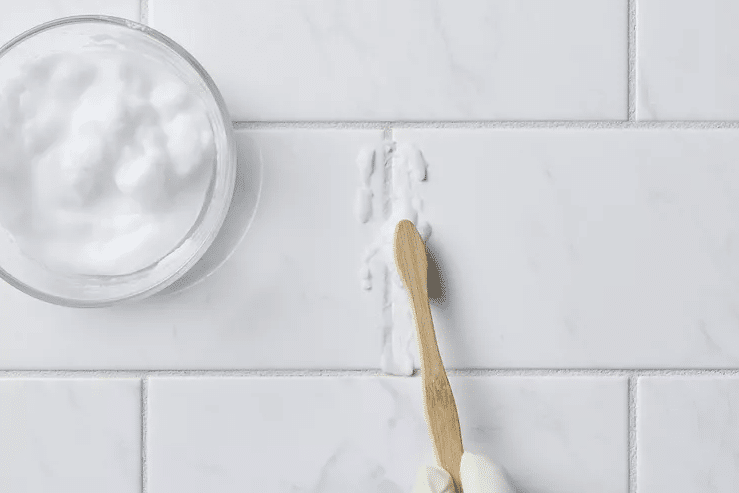
Step 2: The Eco-Friendly Power Couple (Baking Soda & Vinegar)
For deeper, everyday stains or grease in the kitchen, turn to items you already have in your pantry. Baking soda is a mild abrasive, and vinegar is a natural acid that cuts through grime.
- What to do: Mix baking soda and water into a thick paste and apply it generously to the grout lines. Next, spray a 50/50 mixture of white vinegar and warm water over the paste. The mixture will begin to bubble and fizz.
- The Wait: Let it sit for 5 to 10 minutes until the fizzing stops. Scrub the lines thoroughly with your brush, then rinse well with clean water and wipe dry.
- Note: Do not use vinegar if your tile is natural stone (like marble, limestone, or travertine), as the acid can etch the stone surface.
Step 3: Tackling Tough Stains (Hydrogen Peroxide or Oxygen Bleach)
If you’re dealing with stubborn discoloration, mildew, or heavily trafficked floor tile grout, you need a stronger oxidizing agent.
- Hydrogen Peroxide: Pour moderate amounts of hydrogen peroxide directly onto the stained grout lines, let it sit for 5 minutes, scrub, and rinse.
- Oxygen Bleach: For severe staining, mix powdered oxygen bleach (like OxiClean) with warm water according to package directions. Apply it to the grout and let it soak for 15 to 30 minutes to give the oxygen bubbles time to lift the deep-set stains. Scrub well and rinse thoroughly.
Step 4: The Last Resort for Deep Stains (Chlorine Bleach)
If you have white grout with severe mold, mildew, or dark staining, you can use a diluted chlorine bleach solution.
- Safety First: Always wear gloves and eye protection, and ensure the room is well-ventilated.
- What to do: Mix 1 part chlorine bleach with 3 parts water, or use a commercial grout cleaner formulated with bleach. Spray it onto the lines, let it sit for a few minutes, scrub, and rinse away completely. Avoid using this method regularly, as harsh chemical bleach can weaken grout over time.
🛠️ Still Stained? How to Restore or Color Your Grout
Sometimes grout is simply too old, stained, or permanently discolored for standard cleaners to work. If cleaning doesn’t bring it back to life, you have two excellent restoration options:
🎨 Option A: Use a Grout Colorant / Stain
Grout colorant acts like an epoxy-based paint designed specifically for grout lines. It completely covers up stains and seals the grout at the same time. You can match your original color or completely change it (like switching from a stained white to a trendy charcoal gray!). Simply brush it onto clean, dry grout lines and wipe the excess off the face of the tiles.
🔨 Option B: Remove and Regrout
If the grout is crumbling, cracking, or missing chunks, it’s time for a replacement. Use a manual grout saw or an oscillating multi-tool to gently scrape out the top 1/8-inch of the old grout. Vacuum up all the dust, mix up a fresh batch of grout, and use a grout float to press it into the clean joints.
💡 The Ultimate Secret: Seal Your Success!
Once your grout looks brand new, you want to keep it that way. The single most important step homeowners forget is sealing the grout.
Once the grout is completely clean and dry (wait 24 hours after a deep clean, or follow package instructions for new grout), apply a high-quality grout sealer. This creates an invisible barrier that repels liquids, grease, and dirt, ensuring your kitchen or bathroom stays gorgeous for years to come.
Need help transforming your kitchen or bathroom into a total masterpiece? From flawless custom countertops to total design solutions, we’ve got you covered. Visit granitecountertopsolutions.com to browse our gallery, or stop by our tri-state area showroom to see our massive selection of premium stone slabs!